How to Remove Wallpaper: A Step-by-Step Guide to a Fresh Start
Transform Your Space with Easy Wallpaper Removal Guide
Revamping a room by adding wallpaper not only introduces personality but also breathes new life into the house. Nonetheless, there’s a high chance that it might require reinstallation be it for interior design purposes or preparing walls to repaint them – which can seem like quite an inconvenience as removing wallpaper seems daunting.
But fret not; with adequate tools, efficient techniques and some patience managing change in your living quarters is hassle-free! This is an all-inclusive manual to assist you in removing wallpaper with proficiency and efficiency.
Steps To Remove Wallpaper
Old wallpaper can bring a distinctive allure and personality to any space, but as trends evolve with time, it could lose its relevance. Whether you want to refresh your living area’s interior design or get ready for an updated coat of paint, removing the outdated wallpaper is imperative.
Although stripping off old paper may seem like a daunting task at first glance, adhering to these guidelines will ensure pro-level success in doing so without damaging walls or causing avoidable aggravation.
Step 1: Preparation
· Protect Your Space
Firstly, it is necessary to vacate the room, meaning to remove all furniture, decorations, everything that hangs on the walls, etc. It is discrete to protect your floor using drop cloths or plastic sheets to prevent water damage or leftover adhesive marks. Securely fasten painter’s tape along the edges to prevent any slipping.
· Safety First
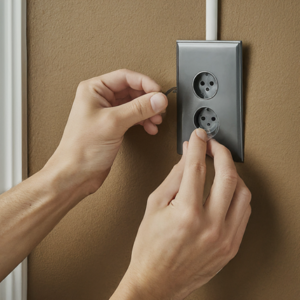
To prevent accidents, particularly if you plan on using water or a steamer, it is best to switch off the electricity in the room. Additionally, removing outlet covers and light switch plates can help avoid electrical hazards and any damage that may occur.
· Gather Your Tools
Make sure you have all the tools required, including a wallpaper scorer, putty knife, sponge, bucket, hot water, and either a commercial wallpaper stripping solution or homemade vinegar-water mix. If desired, a wallpaper steamer can also be included as an optional tool.
Step 2: Testing the Wallpaper
· Identify the Type
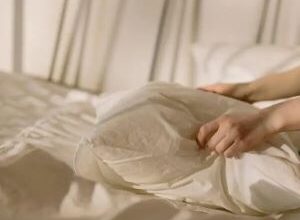
Perform a sample wall to determine the kind of wallpaper and the stability of the adhesive. Cut around the edge using a putty knife and using your finger gently try to peel it. If it washes off easily then it could be strippable wallpaper, which should be the easiest to scrap off the wall. If not, you have to go for a more elaborate approach; here is a comprehensive list of steps that explain how to do it.
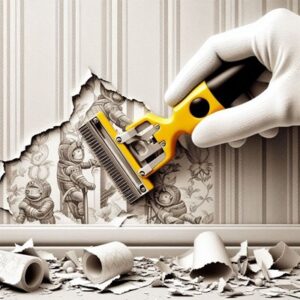
Step 3: Scoring the Wallpaper
· Create Small Perforations
Apply a wallpaper scorer across the wallpaper to scratch it and make small holes in it. These holes will enable the stripping solution to get inside and break the surface glue. This being so, ensure that you do not harm the wall beneath by gently moving the scorer.
Step 4: Applying the Stripping Solution
· Prepare Your Solution
Prepare a wallpaper removal solution by blending hot water and white vinegar in equal parts inside a bucket. The warmth emanated from the heated mixture works great at loosening up any adhesive, thus simplifying its eradication process.
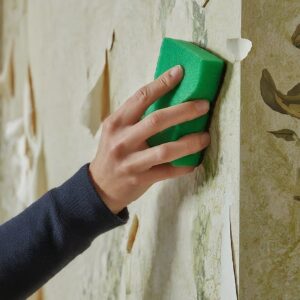
· Soak the Wallpaper
To ensure the effective breakdown of adhesive, generously apply the solution to the wallpaper using either a sponge or spray bottle. Make sure that all areas, especially those scored for easy removal, are thoroughly soaked. Allow 15-20 minutes for the solution to sit and work effectively on breaking down the adhesive.
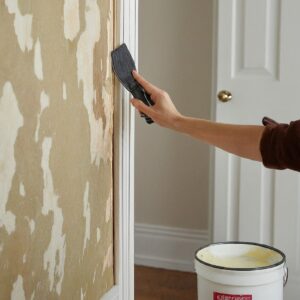
Step 5: Removing the Wallpaper
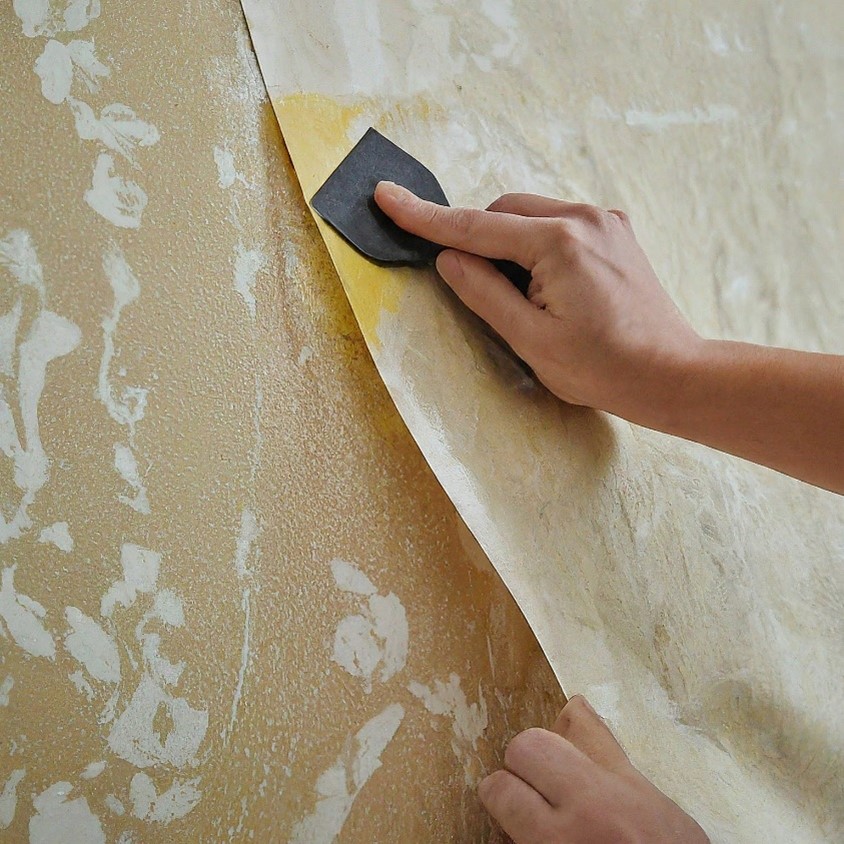
· Peel Away
Commence at a junction or an angle. Employ a putty knife to hoist the wallpaper’s edge and softly withdraw it from the wall. Use the putty knife to detach any obstinate portions. In case of resistance, apply an additional solution and allow more time for detachment.
· Steam for Stubborn Wallpaper
When dealing with persistent wallpaper, steaming is an ideal solution. Place the steamer onto the wallpaper for several seconds to loosen up its glue and use a putty knife to remove it carefully, taking care not to harm the drywall.
Step 6: Cleaning the Wall
· Remove Residual Adhesive
It has come to my realization that after removing wallpapers, there is always adhesive residue on the walls. For this, prepare a solution based on mild dish soap and hot water. Use the sponge to wash the section carefully then rinse the section with fresh water and after that, towel-dry the zone.
· Inspect and Repair
Before proceeding with painting or new wallpaper, inspect the walls for any damage or holes that require repair. Apply spackle to cover up imperfections and openings, then let it dry before smoothing out the surface by sanding it down.
Step 7: Finishing Touches
· Final Cleanup
After ensuring that the walls are spotless and free of moisture, take off any shielding mats from the floor and proceed to bring back your furniture as well as decor into the space. Confirm that all electrical covers and switch plates are firmly reinstalled.
· Prepare for the Next Step
Your walls have been prepped for a new layer of paint, fresh wallpaper, or any other treatment that you desire. Revel in the gratification of accomplishing your task and relish the rejuvenated appearance of your refurbished walls.
Important Tips
Here are some important instructions to ensure a smooth and efficient wallpaper removal process:
- Use a garbage bag to dispose of debris to ensure a clean working environment is upheld.
- If wallpaper is painted over, deep score or steam it.
- Swing the scorer in both directions parallel to achieve uniform distribution.
- For strongly bonded adhesives mix a small drop of dish soap into the solution.
- Always have a rag or sponge handy to wipe off excess water and avoid damaging the wall.
- Do not put new paint or wallpaper on for at least 24 hours after the cleaning process is over.
- It is also important to apply the primer before painting for a good grip and smooth surface of the board.
Wrapping Up
Although it may appear daunting, taking down wallpaper can be a simple and satisfying task if you prepare well and use proper methods. By adhering to these procedures along with the supplementary recommendations, obtaining a flawless surface that is primed for your intended design will come easily. Embrace change and savor the metamorphosis of your environment!