How to Clean a Charger Fan | Keep Your Cooling Companion Cool!
Explore the easiest way!
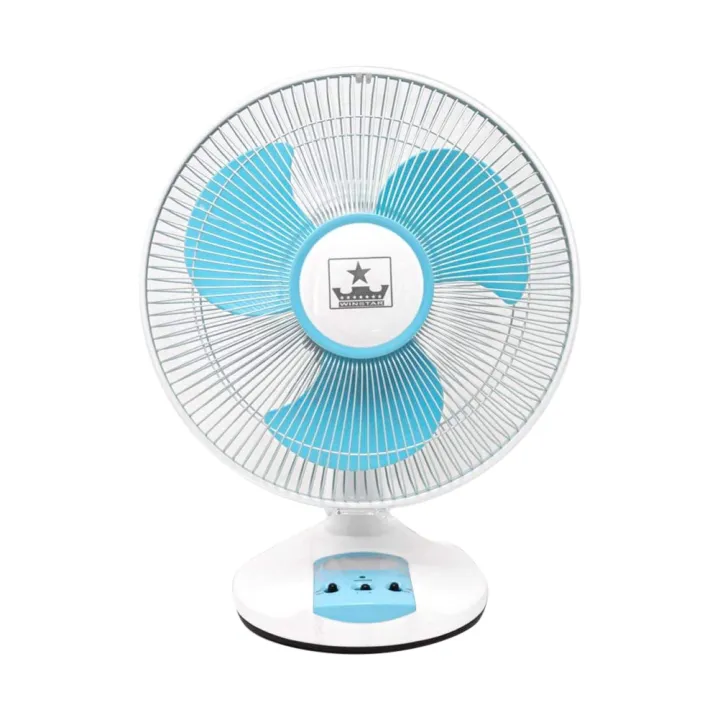
Charger fans are essential appliances in our homes that provide a refreshing breeze during hot days and circulate air to maintain a comfortable environment. However, for a fan to function optimally, regular cleaning is crucial. Over time, dust and dirt accumulate, hindering performance and potentially causing damage to the fan. In this guide, we’ll walk you through the step-by-step process of cleaning your Charger fan to ensure that it remains efficient and reliable.
Gathering Supplies: What You’ll Need for Fan Cleaning
Here are the necessary supplies you’ll need:
- A screwdriver (if your fan requires disassembly).
- Microfiber or soft cleaning cloths.
- Compressed air canister or vacuum cleaner with a nozzle attachment.
- Mild cleaning solution or soapy water.
- Cotton swabs.
- Lubricating oil (if applicable).
Safety First: Preparing the Area for Cleaning
Start by ensuring your safety and that of your surroundings. Turn off the charger fan and unplug it from the power source.
Read more: Charger Fan Price in Bangladesh
If the fan is ceiling-mounted, use a sturdy ladder to reach it, and make sure the area is well-lit. Lay down a drop cloth or old newspapers to catch any falling dust or dirt.
Step-by-Step Process of Cleaning Your Charger Fan
Follow these steps carefully to get your fan cleaned while avoiding any damage:
Removing Dust from Blades
Step 1. Gently remove the charger fan blades. Most Charger fans have blades that can be easily unscrewed.
Step 2. Use a can of compressed air or a vacuum cleaner with a nozzle attachment to remove loose dust from the blades. Work from the center outwards to ensure that you get into all the nooks and crannies.
Step 3. If there are stubborn stains or grime, dampen a microfiber cloth with a mild cleaning solution and wipe the blades, taking care not to let any liquid seep into the motor.
Cleaning the Fan Housing
Step 1. Wipe down the exterior of the charger fan housing with a dry or slightly damp cloth.
Step 2. For more thorough cleaning, use a cloth dipped in soapy water. Be cautious not to let water drip into the motor or electrical components.
Step 3. Clean any grime or stains with a gentle scrubbing motion. If the housing is made of plastic, avoid abrasive cleaners that may scratch the surface.
Wiping Down the Base and Controls
Step 1. Clean the base and control panel with a damp cloth.
Step 1. Use cotton swabs to reach into crevices and clean buttons or switches. Ensure the controls are dry before reconnecting the power.
Deeper Cleaning Techniques of Charger Fans
For persistent stains or grime on the blades and housing, you may need to use a stronger cleaning solution.
Read more: Ceiling Fan Price in Bangladesh
Mix a small amount of mild detergent with water, dip a cloth into the solution, and gently scrub the affected areas. Always ensure that the charger fan is completely dry before reassembling and reconnecting to the power source.
Drying and Reassembly: Completing the Cleaning Process
After cleaning, it’s crucial to allow all components to dry completely before reassembly. Place the charger fan blades and housing in a well-ventilated area and ensure there is no residual moisture. Once dry, reattach the blades following the reverse order of disassembly.
Regular Maintenance Tips: Keeping Your Charger Fan Clean and Efficient
To maintain the cleanliness of your Charger fan, consider the following tips:
#1 Establish a Cleaning Schedule: Aim to clean your fan every few months, depending on usage and environmental factors.
#2 Dust the Surrounding Area: Minimize the accumulation of dust by regularly cleaning the space around the fan.
#3 Store Properly When Not in Use: If the fan will be unused for an extended period, store it in a clean, dry place to prevent dust build-up.
Troubleshooting: Common Issues and Solutions of Charger Fans
If your Charger fan experiences issues even after cleaning, consider the following troubleshooting tips:
#1 Unusual Noises: Check for loose screws or foreign objects caught in the blades. Tighten any loose screws and remove any obstructions.
Read more: How To Clean Dishwasher
#2 Irregular Speeds: Ensure that the fan controls are functioning correctly and that there are no obstructions hindering the blades’ movement.
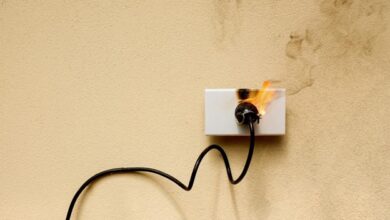
#3 Electrical Issues: If the fan fails to turn on, check the power source, the cord, and the control panel for any visible damage.
Final Words on Charger Fans
Regularly cleaning your Charger fan is a simple yet effective way to ensure it remains a reliable and efficient cooling companion. By following these steps and incorporating regular maintenance into your routine, you can extend the lifespan of your fan and enjoy a consistently refreshing breeze in your home.
Remember, a clean fan not only enhances its performance but also contributes to a healthier living environment by reducing the circulation of dust and allergens. So, roll up your sleeves, gather your cleaning supplies, and give your Charger fan the TLC it deserves!